How to install IBM Cloud Block on IBM Cloud
Block storage, sometimes referred to as block-level storage, is a technology that is used to store data files on Storage Area Networks (SANs) or Cloud-based storage environments. Developers favor block storage for computing situations where they require fast, efficient, and reliable data transportation. This tutorial will show you how to install IBM Cloud Block on IBM Cloud
Before you begin
You MUST have a user ID that is a member or an owner of an IBM Cloud account. To get an IBM Cloud user ID, go to: Please register here.
Step 1 : provision Kubernetes Cluster
- Click the Catalog button on the top
- Select Services from the catalog
- Search for Kubernetes Service and click on it

On the Kubernetes deployment page, you need to specify some information about the cluster.
Choose a plan; standard or free. The free plan only has one worker node and no subnet. To provide a standard cluster, you will need to upgrade your account to Pay-As-You-Go
To upgrade to a Pay-As-You-Go account, please complete the following steps:
In the console,
- go to Manage > Account.
- Select Account settings and click Add credit card.
- Enter your payment information,
- click Next, and submit your information
Choose classic or VPC, read the docs and choose the most suitable type for yourself

Now choose your location settings, for more information please visit Locations
Choose Geography (continent)

Choose Single or Multizone
In a single zone your data is only kept on datacentre, on the other hand with Multizone it is distributed to multiple zones, thus safer in an unforeseen zone failure

If you wish to use Multizone, please set up your account with VRF or enable Vlan spanning
If at your current location selection, there is no available Virtual LAN, a new Vlan will be created for you.
Choose a Worker node setup or use the preselected one, set Worker node amount per zone

Choose Master Service Endpoint, In VRF-enabled accounts,
Note: you can choose private-only to make your master accessible on the private network or via VPN tunnel.
Choose public-only to make your master publicly accessible. When you have a VRF-enabled account, your cluster is set up by default to use both private and public endpoints. For more information visit endpoints.

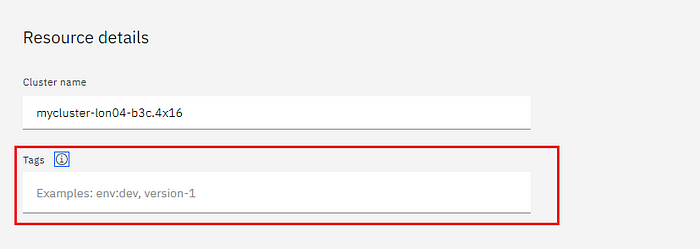
Give the cluster a name

Specify the desired tags for your cluster, for more information visit tags
Click create

Wait for your cluster to be provisioned and your cluster should be ready for use within the next few minutes.
Step 2: Deploy IBM Cloud Block Storage plug-in
The Block Storage plug-in is a persistent, high-performance iSCSI storage that you can add to your apps by using Kubernetes Persistent Volumes (PVs).
- Click the Catalog button on the top
- Select Software from the catalog
- Search for IBM Cloud Block Storage plug-in and click on it

On the application page,
- click in the dot next to the cluster, you wish to use
- Click on Enter or Select Namespace and choose the default Namespace or use a custom one
Note: if you get an error please wait 30 minutes for the cluster to finalize

- Give a name to this workspace
- Click install and wait for the deployment

